How to Compress Images for Website SEO
Image optimization is critical for SEO and website performance. Large, uncompressed images slow down your site, hurt your search rankings, and drive visitors away. Learn how to compress images properly without sacrificing visual quality.
Why Image Compression Matters for SEO
1. Page Speed is a Ranking Factor
Google explicitly uses page speed as a ranking signal. Images are often the largest files on a webpage, and optimizing them can dramatically improve load times.
- Faster loading often leads to better rankings: Google prioritizes pages that load quickly
- Core Web Vitals: Largest Contentful Paint (LCP) directly measures image loading
- Mobile performance comes first: compressed images matter even more on phones
2. User Experience Impact
- 53% of mobile users abandon sites that take over 3 seconds to load
- A one second delay in page load can reduce conversions by 7%
- Images account for 50 to 70% of total page weight on average
- Faster sites have lower bounce rates and higher engagement
3. Bandwidth & Hosting Costs
Smaller images reduce bandwidth usage, which can lower hosting costs and improve server performance, especially during traffic spikes.
How to Compress Images for SEO
- Visit our Image Optimization Tool
- Upload your image (JPG, PNG, WebP, or other formats)
- Choose your compression level:
- Low: 10 to 20% reduction with very little quality loss
- Medium: 30 to 50% reduction, which works well for most images
- High: 60 to 80% reduction for less important images
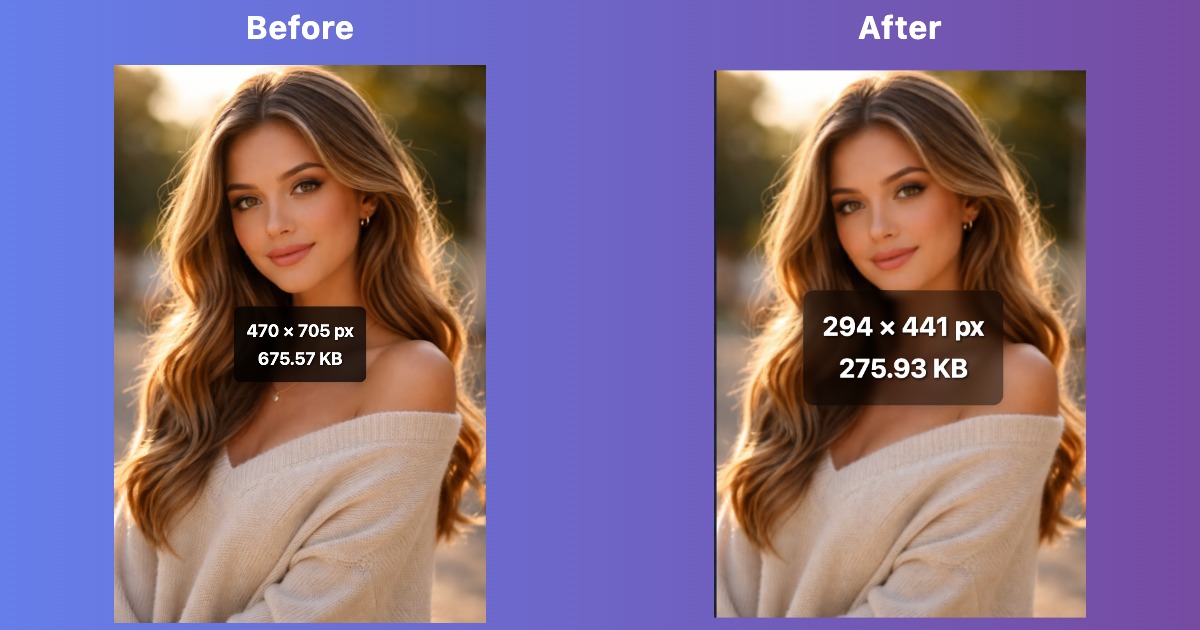
- Preview the before/after comparison
- Download the optimized image
- Upload to your website with proper SEO attributes
Best Image Formats for SEO
WebP (Recommended for Modern Browsers)
Best for: All image types on modern websites
- 25 to 35% smaller than JPG at the same quality
- Supports transparency (like PNG) and animation
- Excellent compression with minimal quality loss
- Supported by 95%+ of browsers (2024)
JPG/JPEG (Universal Compatibility)
Best for: Photos and complex images
- Great compression for photographs
- No transparency support
- Widely supported across all browsers and devices
- Use 80 to 85% quality for a strong balance of size and quality
PNG (Transparency Needed)
Best for: Graphics with transparency, logos, screenshots
- Lossless compression (maintains perfect quality)
- Supports transparency
- Larger file sizes than JPG or WebP
- Use PNG 8 for simple graphics when you want a smaller file
SVG (Vector Graphics)
Best for: Icons, logos, simple illustrations
- Infinitely scalable without quality loss
- Tiny file sizes for simple graphics
- Not suitable for photos or complex images
- Can be styled with CSS
Image Compression Best Practices

1. Resize Before Compressing
Don't upload a 4000px wide image if it displays at 800px. Use our resize tool first:
- Blog featured images: up to 1200 to 1600px wide
- Product photos: about 1000 to 1500px wide
- Thumbnails: about 300 to 500px wide
- Retina displays: 2x the display size (e.g., 1600px for 800px display)
2. Choose the Right Compression Level
| Image Type | Recommended Quality | File Size Reduction |
|---|---|---|
| Hero images | 85 to 90% | 30 to 40% |
| Product photos | 80 to 85% | 40 to 50% |
| Blog images | 75 to 80% | 50 to 60% |
| Thumbnails | 70 to 75% | 60 to 70% |
| Background images | 65 to 70% | 70 to 80% |
3. Implement Lazy Loading
After compression, add lazy loading so images that are off screen do not load right away:
<img src="image.jpg" loading="lazy" alt="Description">This prevents images below the fold from blocking initial page load.
4. Use Responsive Images
Serve different image sizes for different devices:
<img src="image-800.jpg"
     srcset="image-400.jpg 400w,
             image-800.jpg 800w,
             image-1200.jpg 1200w"
     sizes="(max-width: 600px) 400px,
            (max-width: 1000px) 800px,
            1200px"
     alt="Responsive image">
SEO Image Optimization Checklist
File Optimization
- ✓ Resize to appropriate dimensions before uploading
- ✓ Compress to about 70 to 85% quality, depending on how important the image is
- ✓ Convert to WebP for modern browsers (with JPG fallback)
- ✓ Use descriptive filenames (e.g.,
red_running_shoes.jpginstead ofIMG_1234.jpg) - ✓ Keep file size under 200 KB for most images
HTML Optimization
- ✓ Add descriptive alt text for accessibility and SEO
- ✓ Include width and height attributes to prevent layout shifts
- ✓ Use lazy loading for images that appear farther down the page
- ✓ Implement responsive images with srcset
- ✓ Add title attributes for additional context (optional)
Technical SEO
- ✓ Use a CDN to serve images faster globally
- ✓ Enable browser caching for images
- ✓ Create an image sitemap for Google
- ✓ Use structured data for product images
- ✓ Monitor Core Web Vitals in Google Search Console
Common Image SEO Mistakes
1. Not Compressing Images at All
Uploading raw photos from cameras or design tools can result in files that are 5 to 10 MB or even larger. Always compress them before uploading.
2. Compressing Important Images Too Much
Hero images and product photos should stay high quality, usually around 80 to 90%. Do not hurt the user experience just to save a few KB.
3. Using Generic Filenames
image1.jpg provides no SEO value. Use a filename like blue_leather_wallet.jpg with relevant keywords instead.
4. Missing or Poor Alt Text
Alt text helps search engines understand images and improves accessibility. Be descriptive: "Woman running in red sneakers on beach at sunset" vs. "image".
5. Serving One Size for All Devices
Mobile users don't need 4K images. Use responsive images to serve appropriate sizes for each device.
Measuring Image Optimization Success
Tools to Check Your Progress
- Google PageSpeed Insights: Get specific image optimization recommendations
- GTmetrix: Analyze image sizes and compression levels
- WebPageTest: See detailed waterfall charts of image loading
- Google Search Console: Monitor Core Web Vitals performance
Key Metrics to Track
- Largest Contentful Paint (LCP): Should be under 2.5 seconds
- Total page weight: Aim for under 2 MB total
- Number of HTTP requests: Fewer is better
- Time to Interactive (TTI): How quickly users can interact with your page
Advanced Image Optimization Techniques
1. Serve Modern Image Formats
Use WebP with JPG fallback for maximum compatibility and compression:
<picture>
  <source srcset="image.webp" type="image/webp">
  <img src="image.jpg" alt="Description">
</picture>
2. Use Image CDNs
Services like Cloudflare, Cloudinary, or Imgix automatically optimize, resize, and serve images from global edge locations.
3. Implement Progressive JPEGs
Progressive JPEGs load in layers, giving users a preview quickly while the full quality loads in the background.
4. Optimize for Mobile First
Start with images that are ready for mobile, then scale up for larger screens instead of doing it the other way around.
Optimize Your Images for SEO Now
Compress images without giving up quality. It is completely free.
Compress Images Free